How To Create Easy Vector Clouds
A quick and easy way to make fluffy vector clouds using circles and the pathfinder tool!
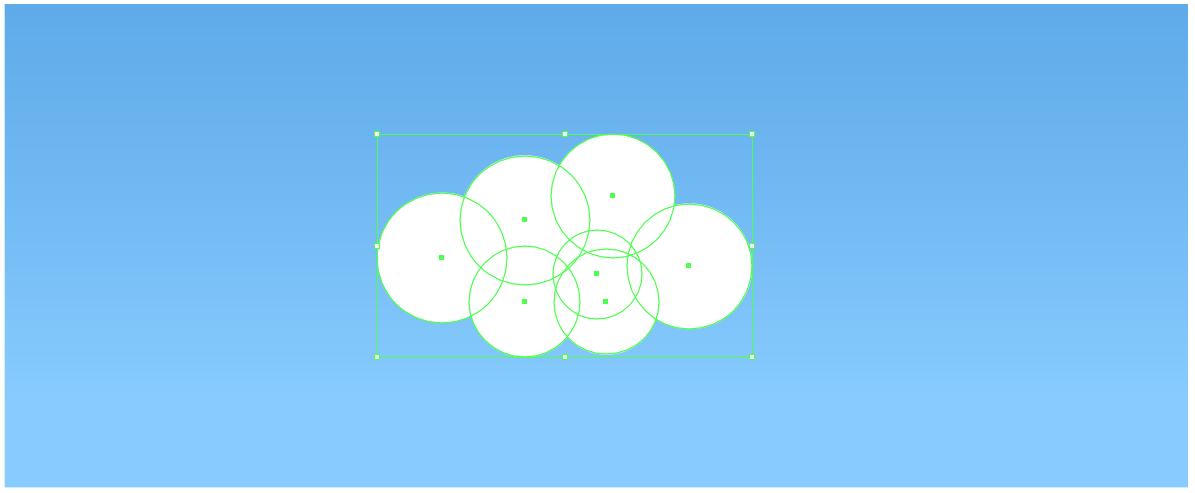
Let’s get stuck right in shall we? The first thing we need to do is create some circles. Vary the sizes a little bit and play around with arranging them into a cloud shape. If you have gaps in the middle, just add another circle in to cover it up.
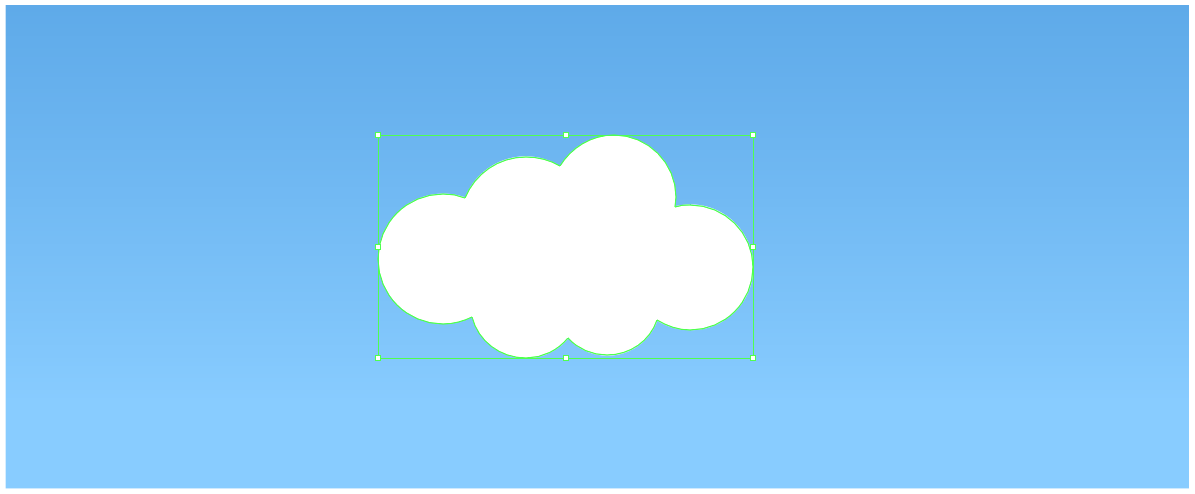
Next, we need to join all of our circles and create our first cloud. If your Pathfinder window isn’t opened, open it up by going to Window - Pathfinder. Once done, select all the circles you just created by dragging a box around them and click on UNITE in the pathfinder tool. Voila! We now have a single, united shape made up of our circles.
Now that we have our cloud, we need to create a nice little shadowed effect at the bottom of it. For this we will need 2 copies of our cloud. To do this either CTRL C to copy and CTRL V twice to paste twice, or click on the cloud, hold ALT and drag out a copy, and make another one by hitting CTRL D to duplicate.
Our original cloud will stay untouched, the 2 copies will be used to create the shadow by using a cutout of one copy against the other. Set the original cloud to one side and position one copy over the other as shown below:
Important - Make sure the top copy is aligned vertically to the bottom copy.
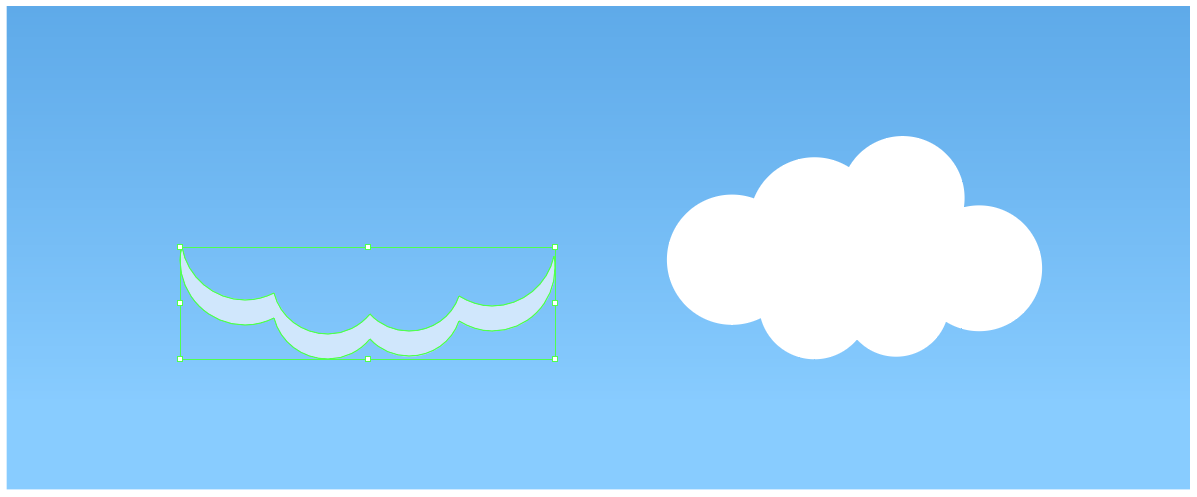
With that done, select both of your overlapping copies and go into your pathfinder tool again. This time, we want to MINUS FRONT to leave us with our shadow shape.
Now that we have our shadow shape, let’s colour it a nice pale blue:
Now all that’s left to do is is place our shadow on top of our original cloud and we are done!
Now that you can create simple clouds out of circles - try your hand at some varied styles. Work with more circles, more detail, have a try at creating a cloud that is flat at the bottom and fluffy on top or whatever else takes your fancy.
There is so much you can achieve by just using the Pathfinder tool and basic shapes - experiment, learn and keep challenging yourself!


